b
Forms
Let's continue expanding our application by allowing users to add new notes. You can find the code for our current application here.
To get our page to update when new notes are added it's best to store the notes in the App component's state. Let's import the useState function and use it to define a piece of state that gets initialized with the initial notes array passed in the props.
import { useState } from 'react'import Note from './components/Note'

const App = (props) => {  const [notes, setNotes] = useState(props.notes)
  return (
    <div>
      <h1>Notes</h1>
      <ul>
        {notes.map(note =>
          <Note key={note.id} note={note} />
        )}
      </ul>
    </div>
  )
}

export default App
The component uses the useState function to initialize the piece of state stored in notes with the array of notes passed in the props:
const App = (props) => {
  const [notes, setNotes] = useState(props.notes)

  // ...
}
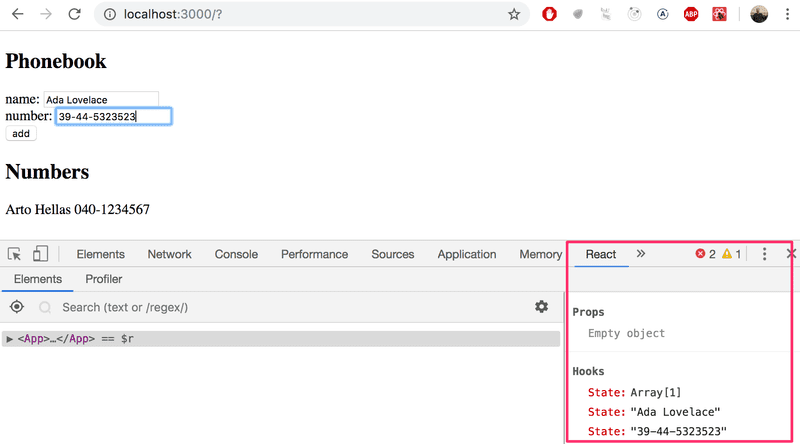
We can also use React Developer Tools to see that this really happens:

If we wanted to start with an empty list of notes, we would set the initial value as an empty array, and since the props would not be used, we could omit the props parameter from the function definition:
const App = () => {
  const [notes, setNotes] = useState([])

  // ...
}
Let's stick with the initial value passed in the props for the time being.
Next, let's add an HTML form to the component that will be used for adding new notes.
const App = (props) => {
  const [notes, setNotes] = useState(props.notes)

  const addNote = (event) => {    event.preventDefault()    console.log('button clicked', event.target)  }
  return (
    <div>
      <h1>Notes</h1>
      <ul>
        {notes.map(note =>
          <Note key={note.id} note={note} />
        )}
      </ul>
      <form onSubmit={addNote}>        <input />        <button type="submit">save</button>      </form>       </div>
  )
}
We have added the addNote function as an event handler to the form element that will be called when the form is submitted, by clicking the submit button.
We use the method discussed in part 1 for defining our event handler:
const addNote = (event) => {
  event.preventDefault()
  console.log('button clicked', event.target)
}
The event parameter is the event that triggers the call to the event handler function:
The event handler immediately calls the event.preventDefault() method, which prevents the default action of submitting a form. The default action would, among other things, cause the page to reload.
The target of the event stored in event.target is logged to the console:
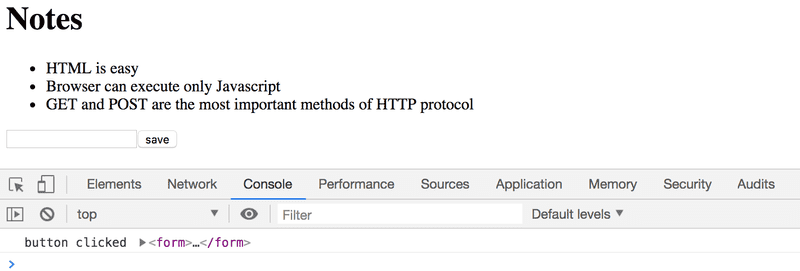
The target in this case is the form that we have defined in our component.
How do we access the data contained in the form's input element?
Controlled component
There are many ways to accomplish this; the first method we will take a look at is through the use of so-called controlled components.
Let's add a new piece of state called newNote for storing the user-submitted input and let's set it as the input element's value attribute:
const App = (props) => {
  const [notes, setNotes] = useState(props.notes)
  const [newNote, setNewNote] = useState(    'a new note...'  )
  const addNote = (event) => {
    event.preventDefault()
    console.log('button clicked', event.target)
  }

  return (
    <div>
      <h1>Notes</h1>
      <ul>
        {notes.map(note =>
          <Note key={note.id} note={note} />
        )}
      </ul>
      <form onSubmit={addNote}>
        <input value={newNote} />        <button type="submit">save</button>
      </form>
    </div>
  )
}
The placeholder text stored as the initial value of the newNote state appears in the input element, but the input text can't be edited. The console displays a warning that gives us a clue as to what might be wrong:

Since we assigned a piece of the App component's state as the value attribute of the input element, the App component now controls the behavior of the input element.
To enable editing of the input element, we have to register an event handler that synchronizes the changes made to the input with the component's state:
const App = (props) => {
  const [notes, setNotes] = useState(props.notes)
  const [newNote, setNewNote] = useState(
    'a new note...'
  )

  // ...

  const handleNoteChange = (event) => {    console.log(event.target.value)    setNewNote(event.target.value)  }
  return (
    <div>
      <h1>Notes</h1>
      <ul>
        {notes.map(note =>
          <Note key={note.id} note={note} />
        )}
      </ul>
      <form onSubmit={addNote}>
        <input
          value={newNote}
          onChange={handleNoteChange}        />
        <button type="submit">save</button>
      </form>
    </div>
  )
}
We have now registered an event handler to the onChange attribute of the form's input element:
<input
  value={newNote}
  onChange={handleNoteChange}
/>
The event handler is called every time a change occurs in the input element. The event handler function receives the event object as its event parameter:
const handleNoteChange = (event) => {
  console.log(event.target.value)
  setNewNote(event.target.value)
}
The target property of the event object now corresponds to the controlled input element, and event.target.value refers to the input value of that element.
Note that we did not need to call the event.preventDefault() method like we did in the onSubmit event handler. This is because no default action occurs on an input change, unlike a form submission.
You can follow along in the console to see how the event handler is called:
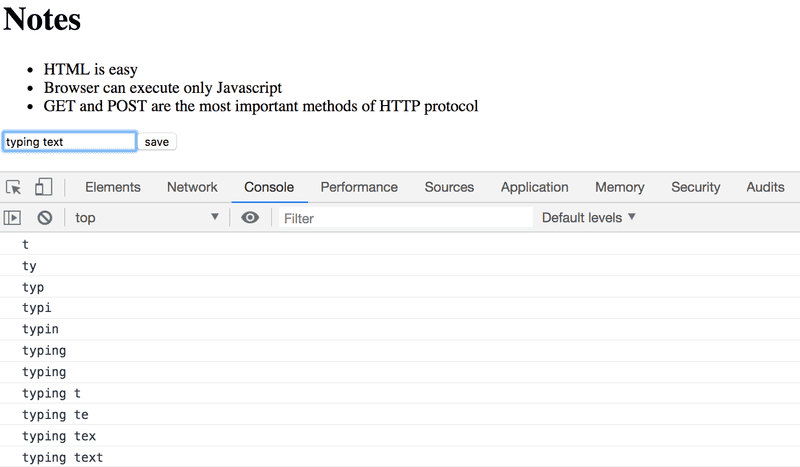
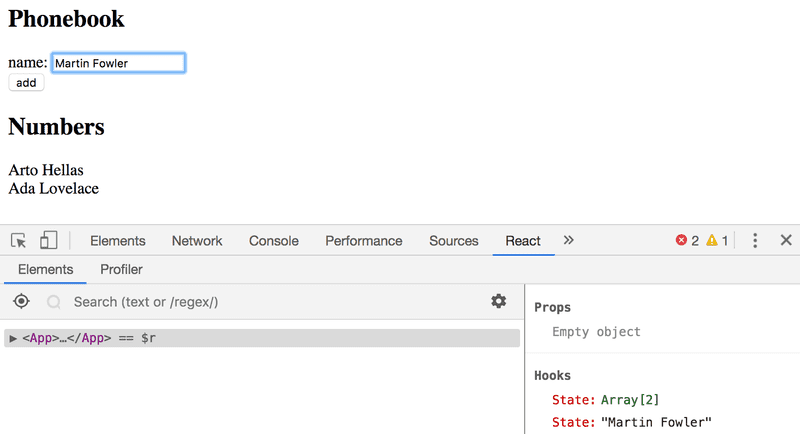
You did remember to install React devtools, right? Good. You can directly view how the state changes from the React Devtools tab:
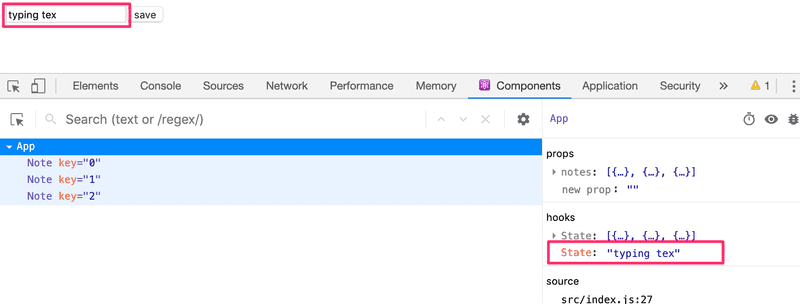
Now the App component's newNote state reflects the current value of the input, which means that we can complete the addNote function for creating new notes:
const addNote = (event) => {
  event.preventDefault()
  const noteObject = {
    content: newNote,
    important: Math.random() < 0.5,
    id: notes.length + 1,
  }

  setNotes(notes.concat(noteObject))
  setNewNote('')
}
First, we create a new object for the note called noteObject that will receive its content from the component's newNote state. The unique identifier id is generated based on the total number of notes. This method works for our application since notes are never deleted. With the help of the Math.random() function, our note has a 50% chance of being marked as important.
The new note is added to the list of notes using the concat array method, introduced in part 1:
setNotes(notes.concat(noteObject))The method does not mutate the original notes array, but rather creates a new copy of the array with the new item added to the end. This is important since we must never mutate state directly in React!
The event handler also resets the value of the controlled input element by calling the setNewNote function of the newNote state:
setNewNote('')You can find the code for our current application in its entirety in the part2-2 branch of this GitHub repository.
Filtering Displayed Elements
Let's add some new functionality to our application that allows us to only view the important notes.
Let's add a piece of state to the App component that keeps track of which notes should be displayed:
const App = (props) => {
  const [notes, setNotes] = useState(props.notes)
  const [newNote, setNewNote] = useState('')
  const [showAll, setShowAll] = useState(true)
  // ...
}
Let's change the component so that it stores a list of all the notes to be displayed in the notesToShow variable. The items on the list depend on the state of the component:
import { useState } from 'react'
import Note from './components/Note'

const App = (props) => {
  const [notes, setNotes] = useState(props.notes)
  const [newNote, setNewNote] = useState('')
  const [showAll, setShowAll] = useState(true)

  // ...

  const notesToShow = showAll    ? notes    : notes.filter(note => note.important === true)
  return (
    <div>
      <h1>Notes</h1>
      <ul>
        {notesToShow.map(note =>          <Note key={note.id} note={note} />
        )}
      </ul>
      // ...
    </div>
  )
}
The definition of the notesToShow variable is rather compact:
const notesToShow = showAll
  ? notes
  : notes.filter(note => note.important === true)
The definition uses the conditional operator also found in many other programming languages.
The operator functions as follows. If we have:
const result = condition ? val1 : val2the result variable will be set to the value of val1 if condition is true. If condition is false, the result variable will be set to the value ofval2.
If the value of showAll is false, the notesToShow variable will be assigned to a list that only contains notes that have the important property set to true. Filtering is done with the help of the array filter method:
notes.filter(note => note.important === true)The comparison operator is redundant, since the value of note.important is either true or false, which means that we can simply write:
notes.filter(note => note.important)The reason we showed the comparison operator first was to emphasize an important detail: in JavaScript val1 == val2 does not work as expected in all situations and it's safer to use val1 === val2 exclusively in comparisons. You can read more about the topic here.
You can test out the filtering functionality by changing the initial value of the showAll state.
Next, let's add functionality that enables users to toggle the showAll state of the application from the user interface.
The relevant changes are shown below:
import { useState } from 'react'
import Note from './components/Note'

const App = (props) => {
  const [notes, setNotes] = useState(props.notes)
  const [newNote, setNewNote] = useState('')
  const [showAll, setShowAll] = useState(true)

  // ...

  return (
    <div>
      <h1>Notes</h1>
      <div>        <button onClick={() => setShowAll(!showAll)}>          show {showAll ? 'important' : 'all' }        </button>      </div>      <ul>
        {notesToShow.map(note =>
          <Note key={note.id} note={note} />
        )}
      </ul>
      // ...
    </div>
  )
}
The displayed notes (all versus important) are controlled with a button. The event handler for the button is so simple that it has been defined directly in the attribute of the button element. The event handler switches the value of showAll from true to false and vice versa:
() => setShowAll(!showAll)The text of the button depends on the value of the showAll state:
show {showAll ? 'important' : 'all'}You can find the code for our current application in its entirety in the part2-3 branch of this GitHub repository.
